Create an Apple ID
Use the same Apple ID to enjoy all Apple services. Find out how to create one.
An Apple ID is the account you use to access Apple services like iCloud, the App Store, iTunes Store, Apple Books, iMessage, Apple Music, Apple TV App, or Apple Podcasts. It includes the email address and password that you use to sign in, and all the contact, payment, and security details that you’ll use across Apple services. You only need one Apple ID, because you can use the same one everywhere.
If you use Apple services, you already have an Apple ID and you don’t need to create a new one. Not sure if you have one? To find out, go to the Apple ID and select Forgot Apple ID or password.
No matter where you create your Apple ID, just remember to use the same one to sign in Apple ID That way, you can access and manage everything with a single account and password.
Store availability and features might vary by country or region.
Create when you set up a device
When you set up on your new iPhone, iPad, or iPod touch, you might be asked to enter your Apple ID and password. If you do not have an Apple ID you can create a new one:
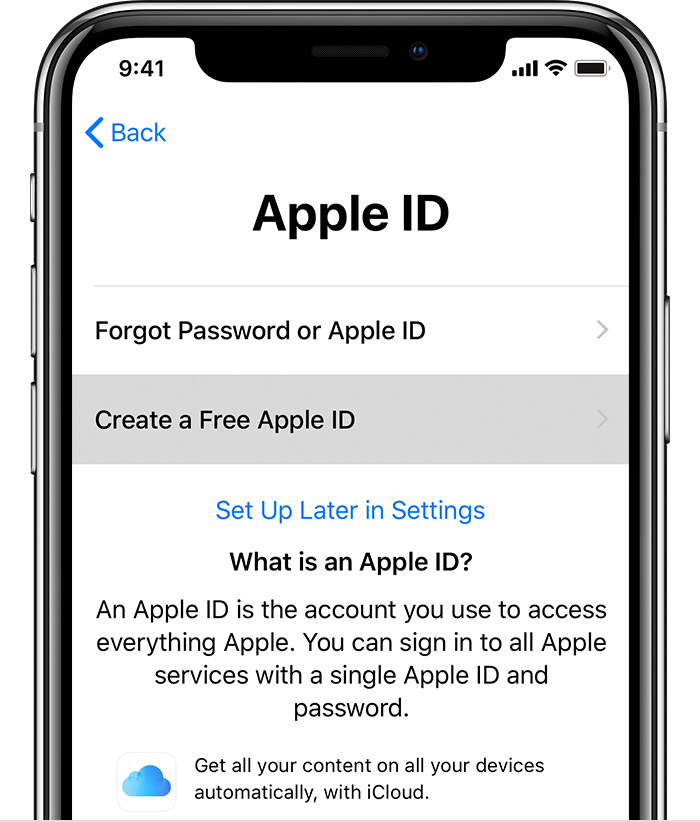
- Tap Forgot password or don’t have an Apple ID.
- Tap Create a Free Apple ID. You can also set it up later in Settings.
- Select your birthday and enter your name. Tap Next.
- Tap Use your current email address, or tap Get a free iCloud email address.
Use the App Store on your iPhone, iPad, or iPod touch
- Open the App Store and tap.
- Tap Create New Apple ID. If you don’t see this option, make sure you’re
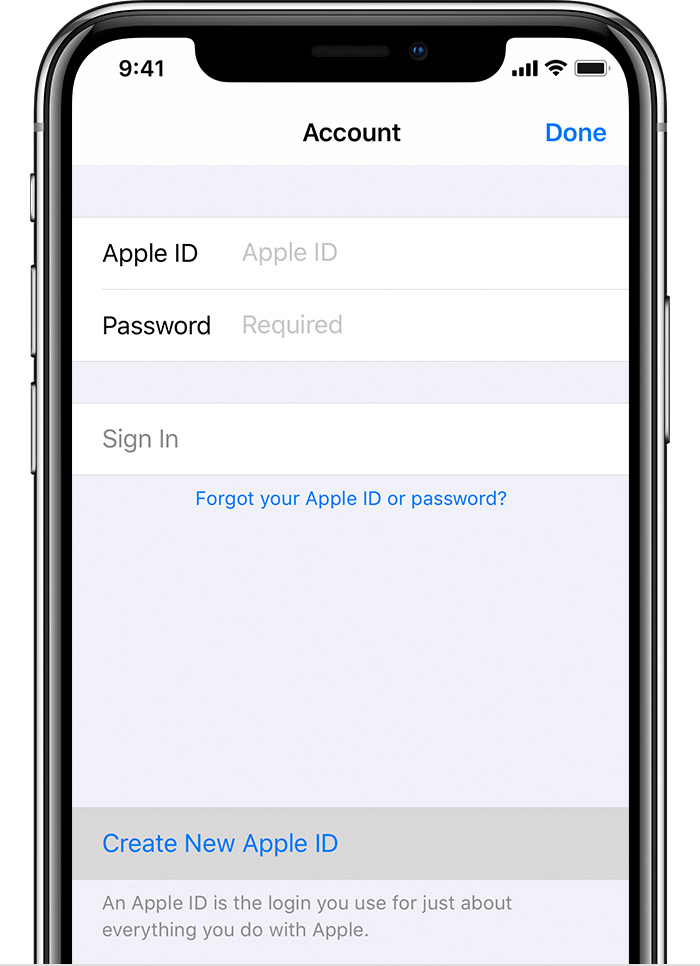
- Enter your email, password, and choose the country or region that matches the billing address for your payment method. The email address you provide will be your new Apple ID.*
- Read the Terms and Conditions and Apple Privacy Policy, then tap Agree to Terms and Conditions. Tap Next.
- Enter your name and birthday, then tap to subscribe to Apple Updates if you’d like. This keeps you up to date on the latest news, software, products, and services from Apple. Tap Next.
- Enter your credit card and billing information, then tap Next. You can also choose None, and learn what to do You will not be charged until you make a purchase. You can later.
- Confirm your phone number. This can help to verify your identity and recover your account if needed. Tap Next.
- Check your email for a verification email from Apple and follow the steps to verify your email address. Learn what to do if you need to set up email id
courtesy:tips-box.com


Comments
Post a Comment